Discover how to upload files to Supabase using Laravel. This comprehensive guide provides step-by-step instructions on integrating Supabase storage with your Laravel application, enabling efficient file management and secure uploads.
If you don't have the necessary credentials for the Supabase or have not connected supabase with laravel, I recommend reading our post on how connecting supabase with laravel.
Step 1 : Create Storage and Its Policy
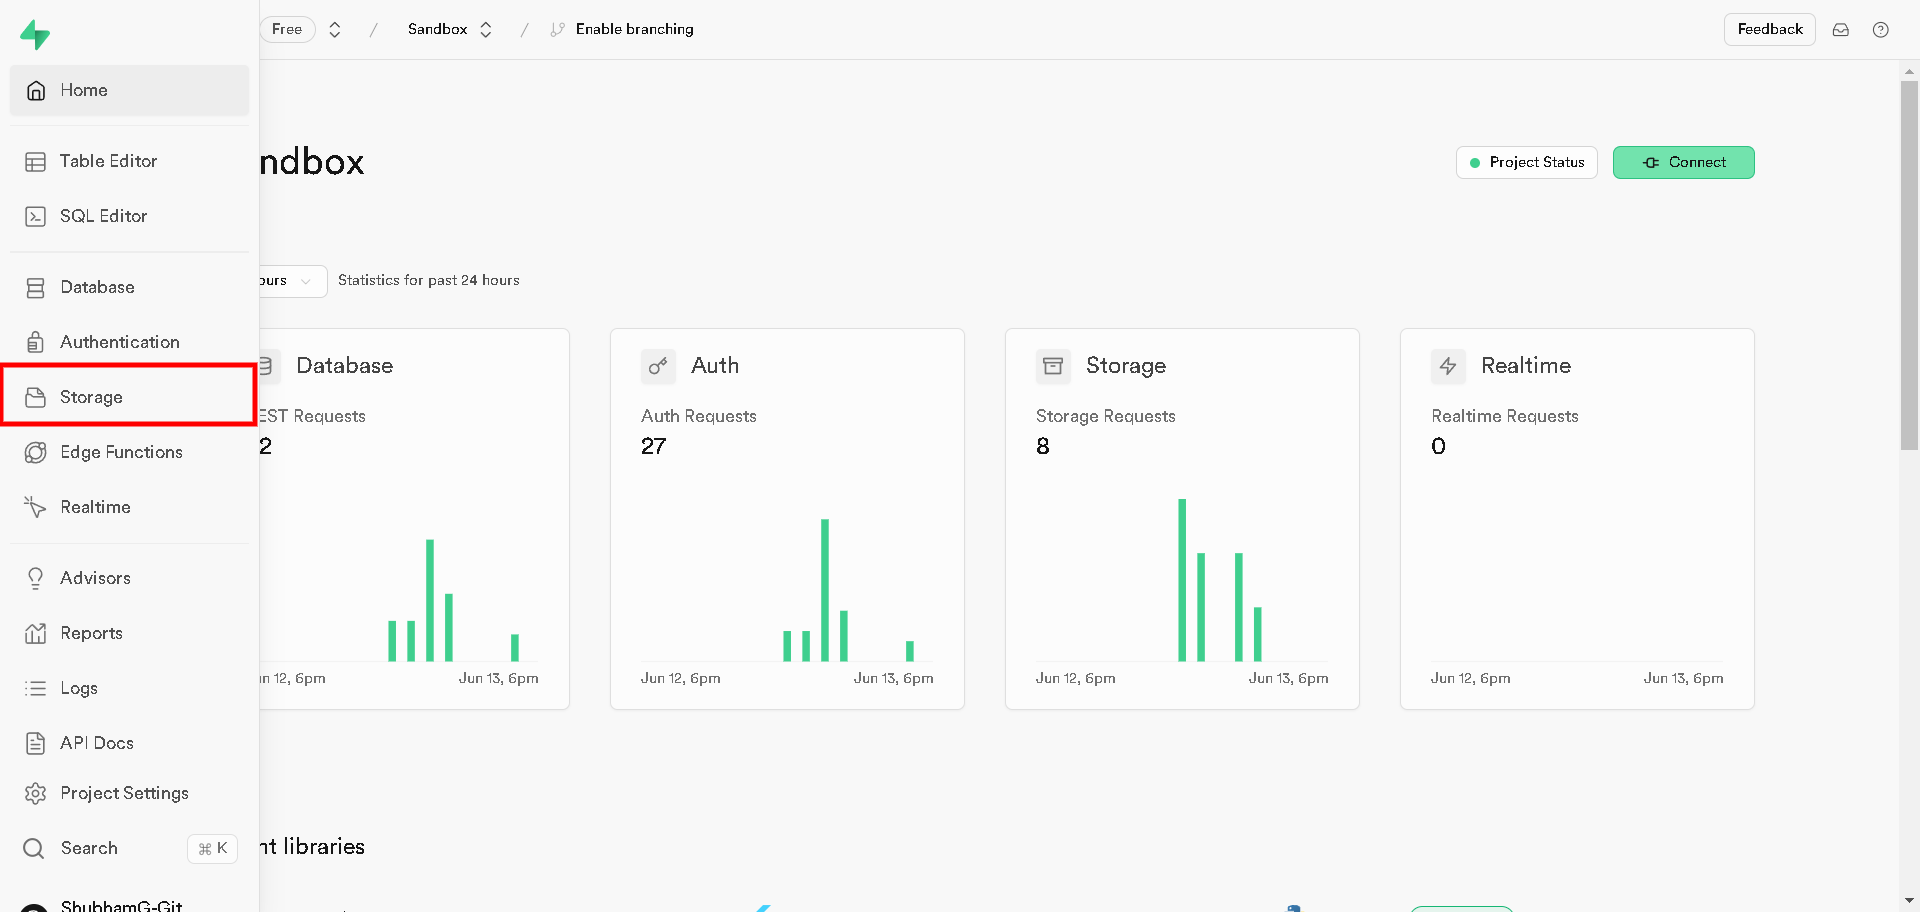
Login to your supabase account and open project, Once you are on project dashboard you will see storage button on sidebar.
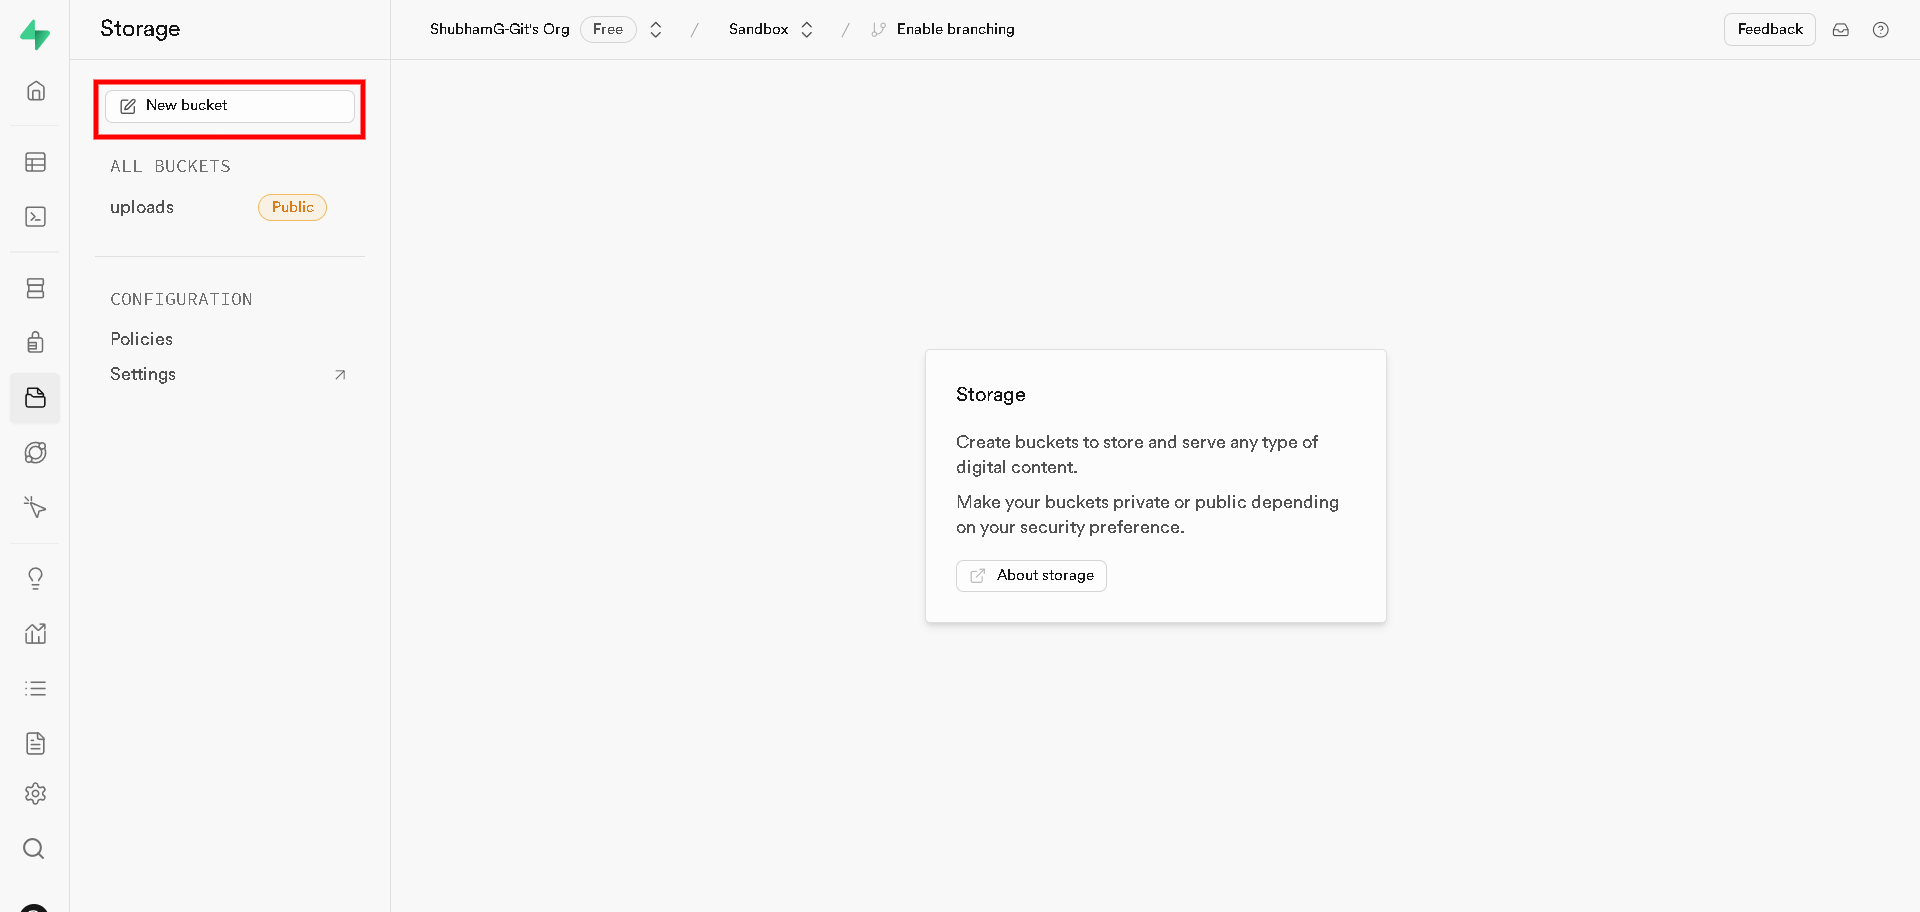
You will be redirected to storage management page, Create a new storage if you have already created a storage then, Skip to policy configuration.
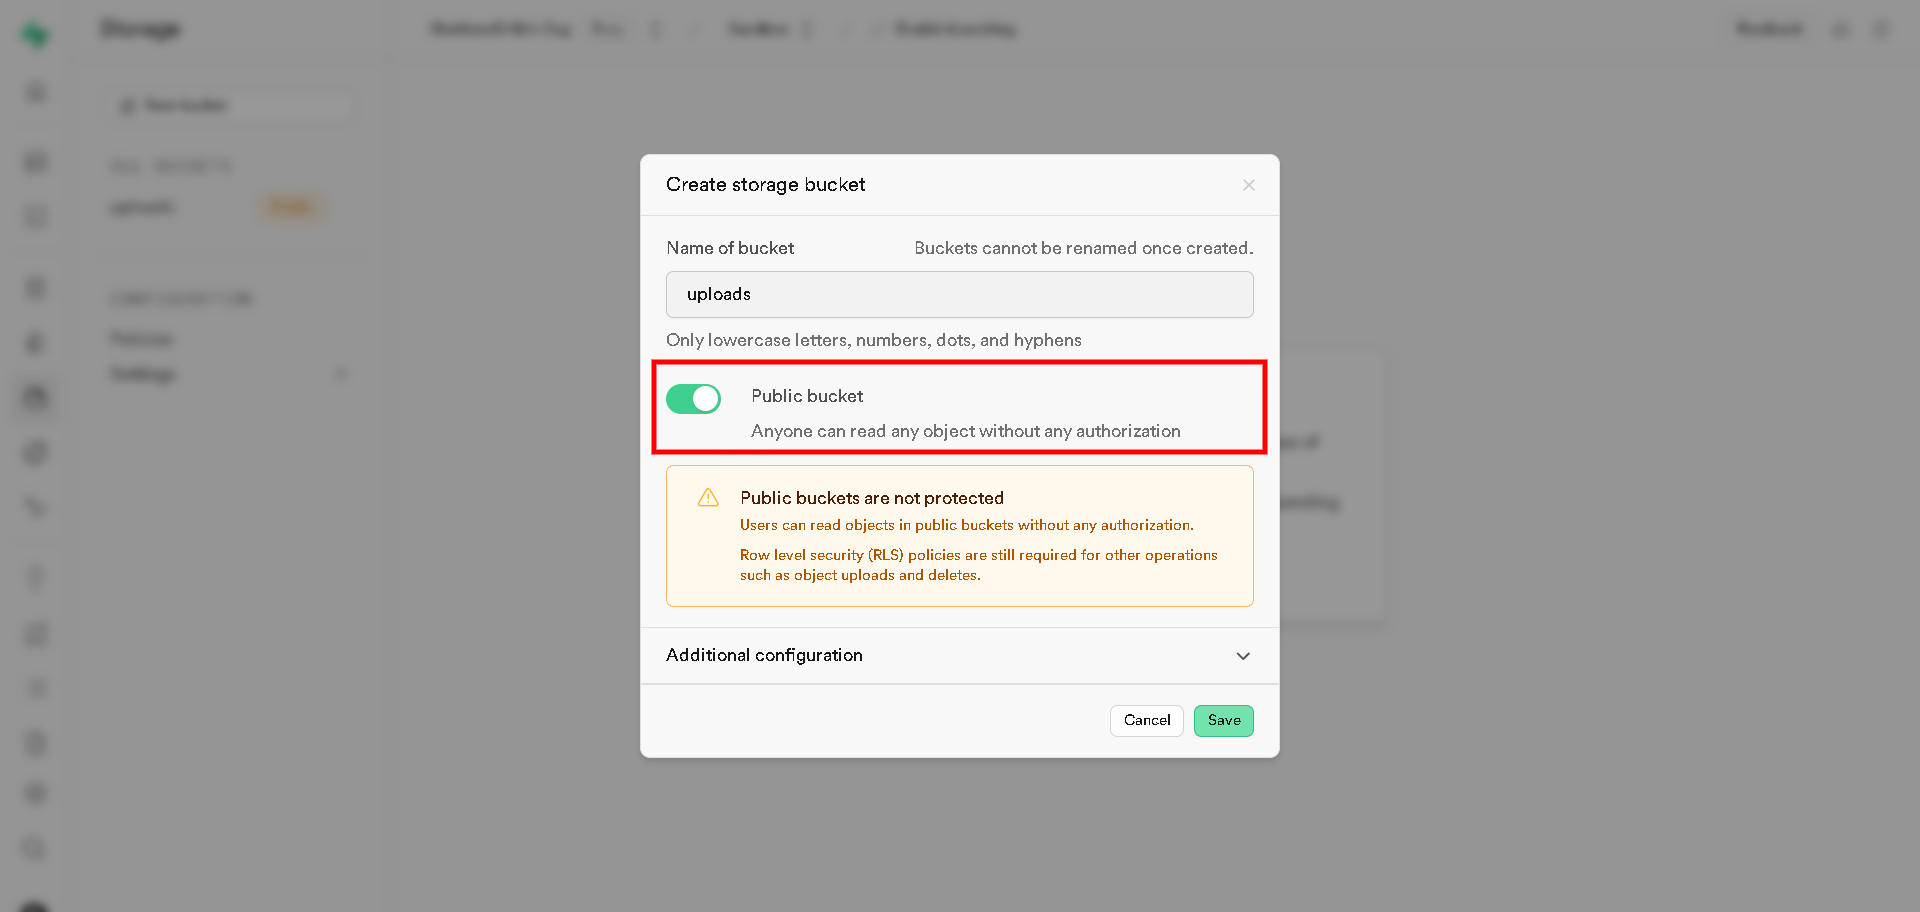
When you click on 'new bucket', A popup will appear, I recommend to name that bucket as 'uploads', A bucket with multiple folders inside.
Note : I am making a public bucket, It will work a bit fast as we do not authenticate whenever we call for our file and also it will not expire.
After creating bucket, Lets create policy.
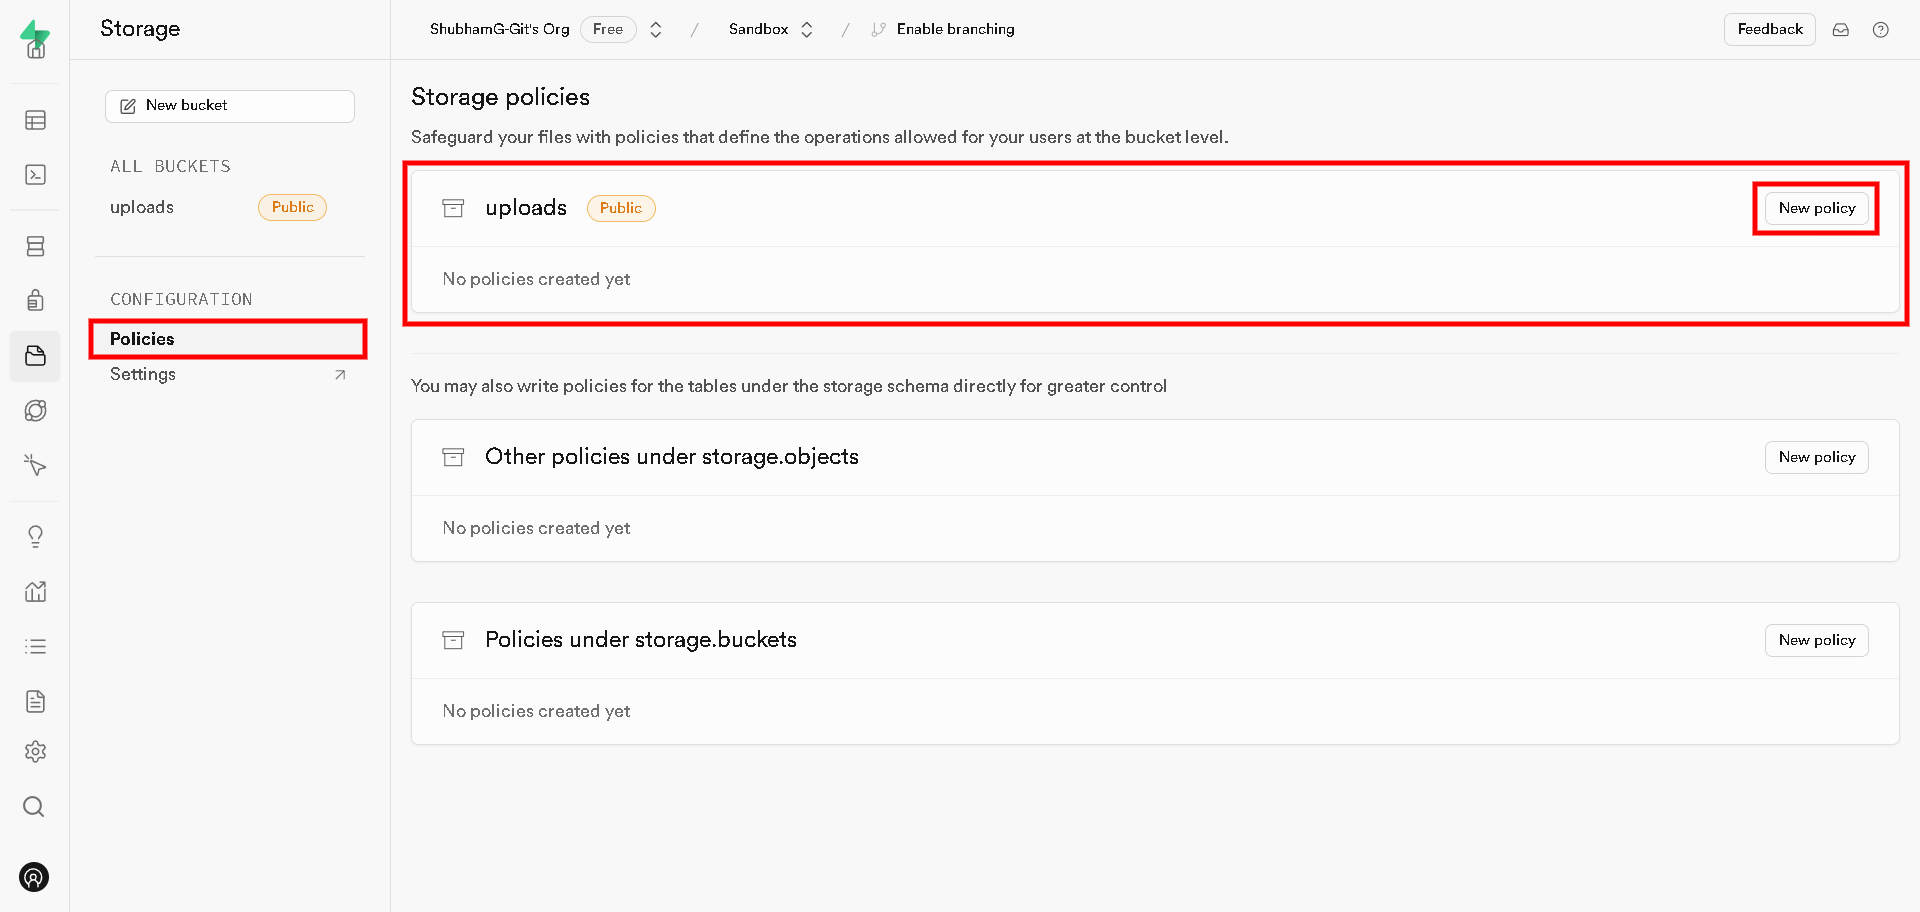
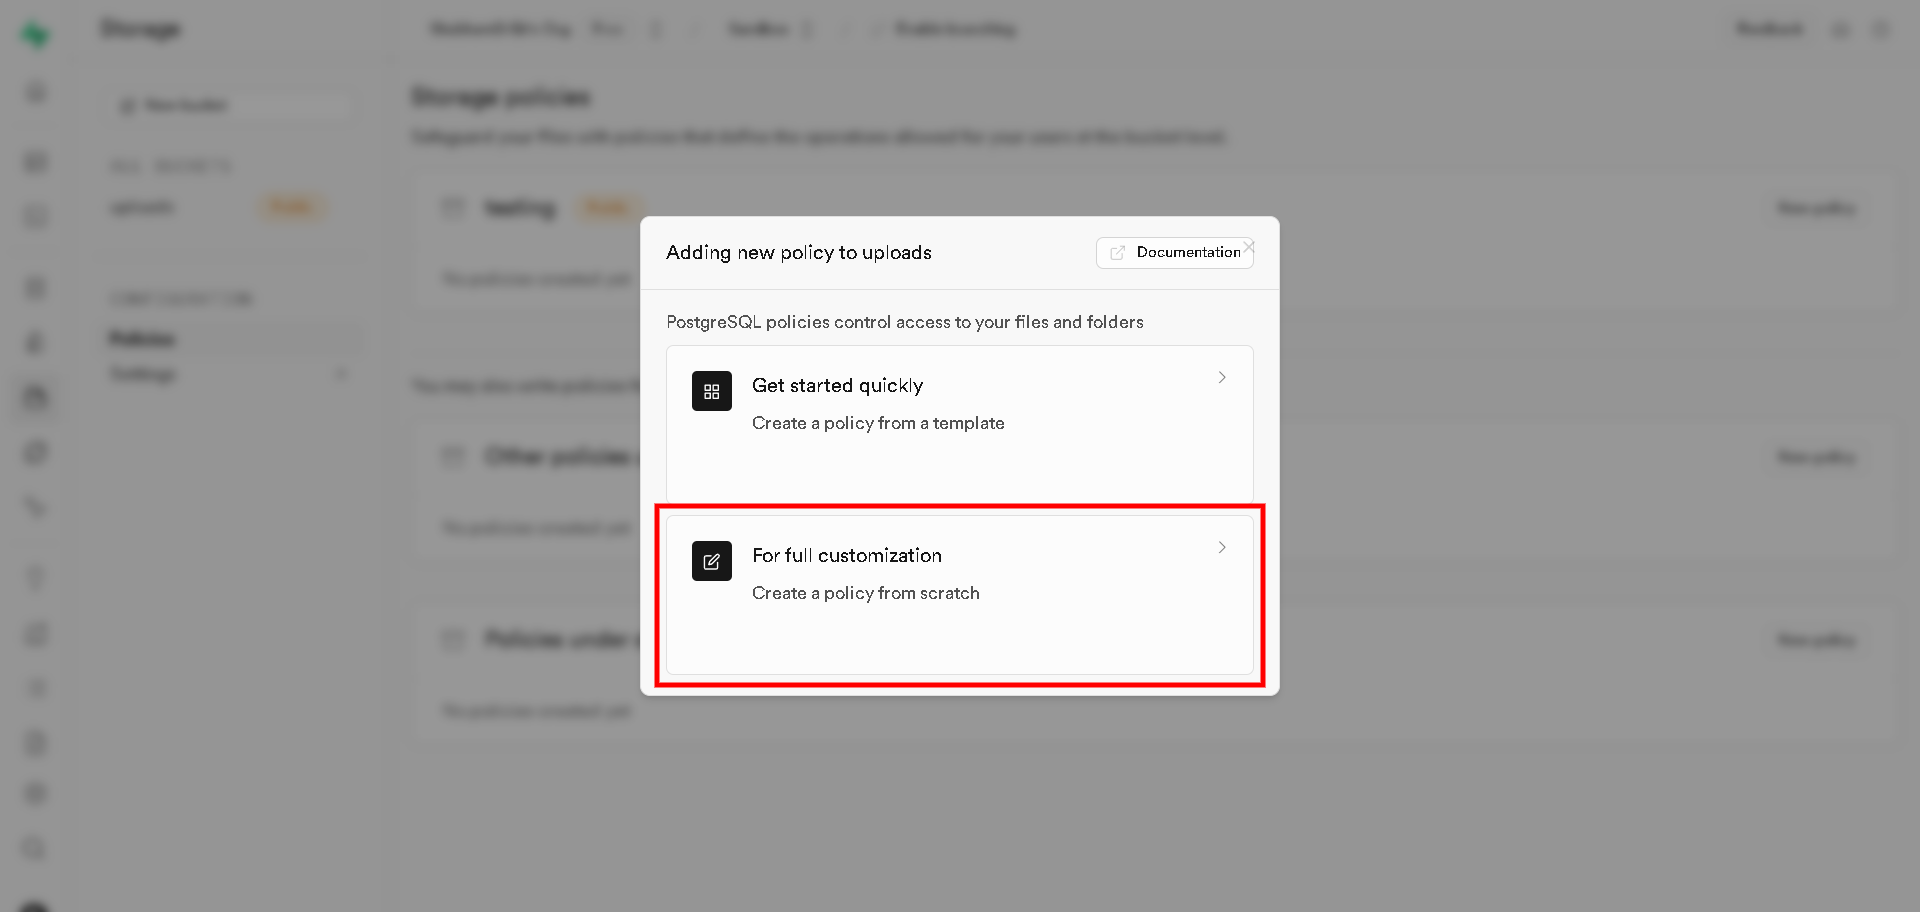
When click on 'new policy' a popup will appear, Click on full customization.
After clicking on full customization, Another popup will apear add name of the policy, It does not matter much so i am going with 'Uploader', As of operations we need to select all operations (Select, Insert, Update, Delete), And target roles will be 'Defaults to all (public) roles if none selected'.
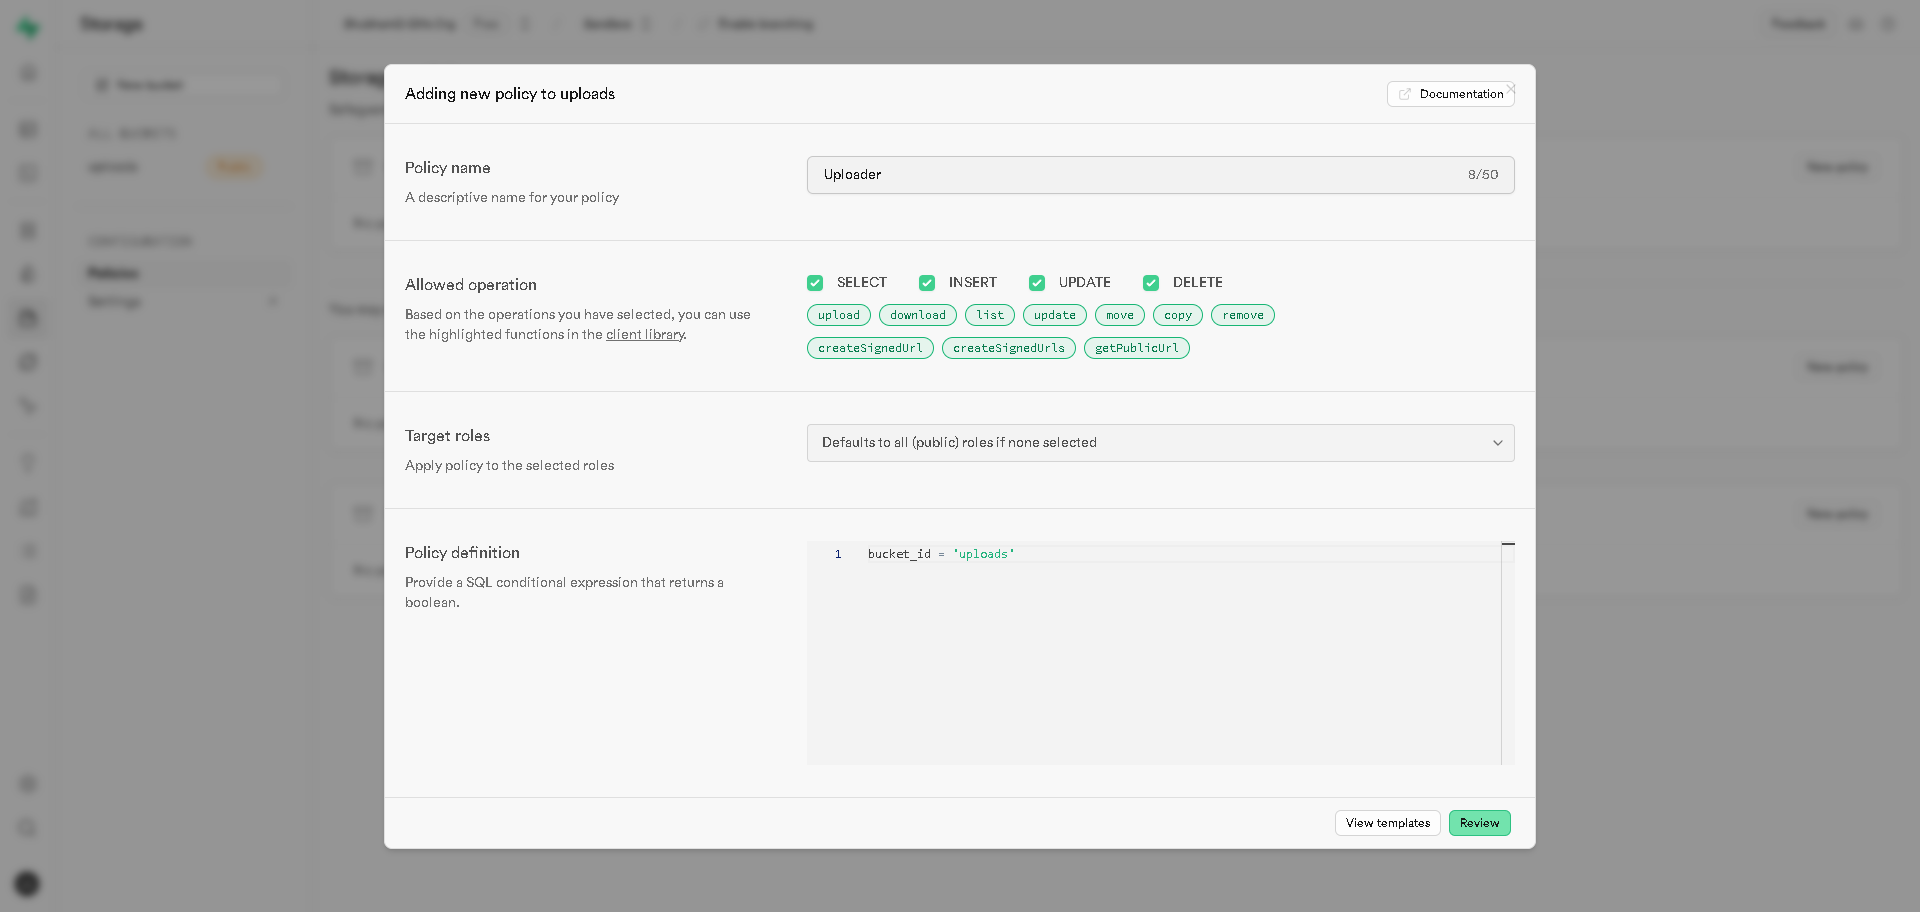
Submit for review and we are done with storage bucket, Now we can head for laravel to manage our uploads.
Step 2 : Uploading with Laravel
We will be using "laravel-supabase-flysystem" package by Quix Labs
The "laravel-supabase-flysystem" package provides a seamless integration between Laravel and Supabase storage, utilizing Flysystem's filesystem abstraction layer. It simplifies the process of storing and retrieving files in a Laravel application by leveraging Supabase's scalable and secure storage solutions.
To install the package, please execute the provided command.
composer require quix-labs/laravel-supabase-flysystemAfter installation, configure the Supabase driver in Laravel's config/filesystems.php.
'supabase' => [
    'driver' => 'supabase',
    'key'    => env('SUPABASE_ANON_KEY'), // Use a privileged key; read-only does not work
    'bucket' => 'uploads',
    'endpoint' => env('SUPABASE_PROJECT_URL'),
    'url'      => null, // <- Automatically generated; change here if you are using a proxy
    'public'                      => true,  // Default to true
    'defaultUrlGeneration'        => null, // 'signed' | 'public' <- default depends on public
    'defaultUrlGenerationOptions' => [
        'download'  => false,
        'transform' => [],
    ],
    'signedUrlExpires' => 60*60*24, // 1 day <- default to 1 hour (3600)
],Note : If you do not know how to get SUPABASE_ANON_KEY and SUPABASE_PROJECT_URL, It means you skiped the first paragraph, I do the same thing, Here you can read our post on how to get anon key and project url.
It's presumed that your Laravel project is already up and running. Therefore, I will be not showing how to to basic things, So lets just go with the code.
Step 3 : Uploading
$folder = 'testing/';
$filename = Storage::disk('supabase')->put($folder, $request->file('image'));The file will be stored in the 'uploads' bucket within the 'testing' folder. Remember to record the filename in your database for easy retrieval, as demonstrated below:
$publicUrl = Storage::disk('supabase')->getAdapter()->getPublicUrl($filename);Before deleting a file, we'll ensure that the field is not empty and that the file actually exists in the storage bucket. This precaution helps us avoid errors in case the file is non-existent or the database entry is empty.
if(!empty($filename) && Storage::disk('supabase')->exists($filename))
{
    Storage::disk('supabase')->delete($filename);
}