Learn how to seamlessly integrate Firebase with Laravel to perform CRUD operations (Create, Read, Update, Delete) efficiently, streamlining your web application development process.
Note: This post continues from a previous one where we explained how to set up, connect, and complete the authentication process in Laravel. We recommend reading that first if you haven't already, as this post will be brief and won't cover tasks already discussed.
Step 1 : Create controller and add route.
We don't need migrations and models for Firebase, so we'll just create a resource controller. To do that, run the command below.
php artisan make:controller --resource CategoryControllerNow, let's add a resource route to the 'web.php' file.
Route::resource('category', \App\Http\Controllers\CategoryController::class);Step 2 : Fetch data from database.
Let's move to the 'CategoryController' and begin working on the 'index' function that has already been created in the resource controller.
public function index()
{
    $tableName = 'categories';
    $categories = firebaseDb()->collection($tableName)->documents()->rows();
    return view('category.index', compact('categories'));
}If you are unfamiliar with the 'firebaseDb' function, please refer to our previous post where we explained it in detail.
Now let's create blade file to display fetched data in table, So create a file in 'resources/views/category/index.blade.php'

@extends('layouts.app')
@section('content')
    <div class="container">
        <div class="row justify-content-center">
            <div class="col-md-8">
                <div class="text-end pb-3">
                    <a href="{{ route('category.create') }}" class="btn btn-success">Create</a>
                </div>
                <div class="card">
                    <div class="card-header"><h4>{{ __('Category List') }}</h4></div>
                    <div class="card-body">
                        <table class="table table-bordered">
                            <thead>
                                <tr>
                                    <th>#</th>
                                    <th>Name</th>
                                    <th>Status</th>
                                    <th class="text-end">Actions</th>
                                </tr>
                            </thead>
                            <tbody>
                                @foreach($categories as $key => $category)
                                    <tr>
                                        <td>{{ $category['sr_no'] }}</td>
                                        <td>{{ $category['name'] }}</td>
                                        <td>{{ $category['status'] ? 'Active' : 'Inactive' }}</td>
                                        <td class="text-end">
                                            <div class="btn-group" role="group" aria-label="Action Buttons">
                                                <a href="{{ route('category.edit',$category->id()) }}" class="btn btn-sm btn-warning">Edit</a>
                                                <form action="{{ route('category.destroy',$category->id()) }}" method="POST" onSubmit="if(!confirm('Are you sure? This action cannot be undone!')){return false;}">
                                                    @csrf
                                                    @method('DELETE')
                                                    <button class="btn btn-sm btn-danger" type="submit">Delete</button>
                                                </form>
                                            </div>
                                        </td>
                                    </tr>
                                @endforeach
                            </tbody>
                        </table>
                    </div>
                </div>
            </div>
        </div>
    </div>
@endsectionTo apply filters and sorting, you can use the Laravel collection functions and filter your data as shown below.
$categoryRows = firebaseDb()->collection($tableName)->documents()->rows();

// using where condition
$categories = collect($categoryRows)->where('status','=',true);

// data by ascending order
$categories = collect($categoryRows)->sortBy('sr_no');Step 3 : Create
Next, return to the 'CategoryController' and update the 'create' function.
public function create()
{
    return view('category.create');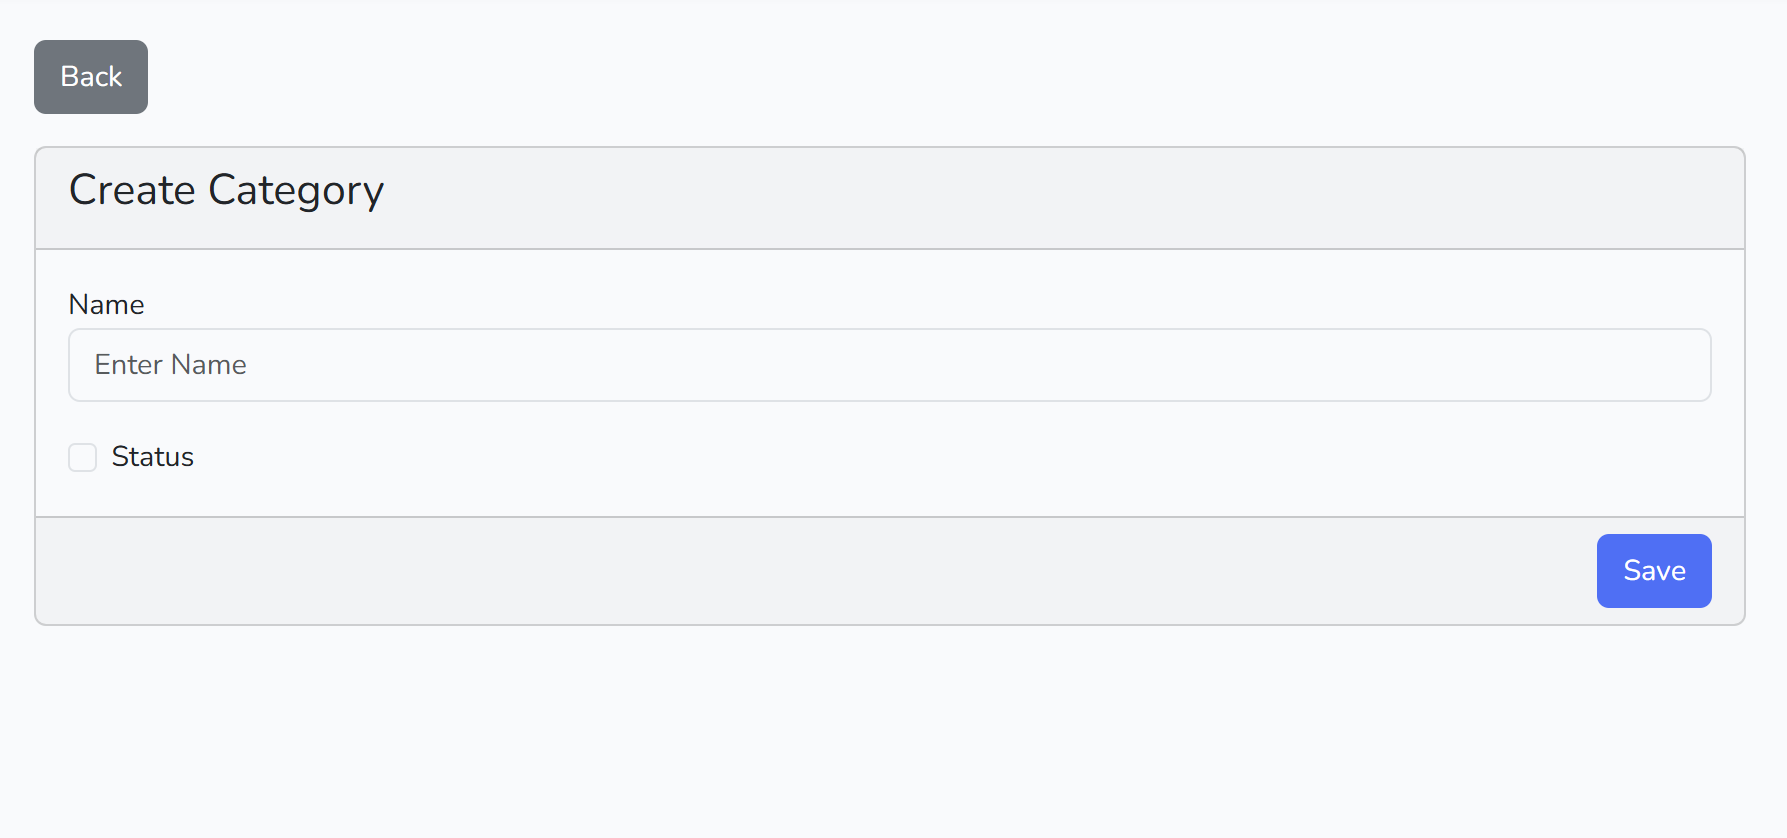
}Create a file and form in 'resources/views/category/create.blade.php'
@extends('layouts.app')
@section('content')
    <div class="container">
        <div class="row justify-content-center">
            <div class="col-md-8">
                @if (\Session::has('success'))
                    <div class="alert alert-success" role="alert">
                        {!! \Session::get('success') !!}
                    </div>
                @endif
                @if (\Session::has('error'))
                    <div class="alert alert-danger" role="alert">
                        {!! \Session::get('error') !!}
                    </div>
                @endif
                <div class="pb-3">
                    <a href="{{ route('category.index') }}" class="btn btn-secondary">Back</a>
                </div>
                <form action="{{ route('category.store') }}" method="POST" class="card">
                    @csrf
                    <div class="card-header"><h4>{{ __('Create Category') }}</h4></div>
                    <div class="card-body">
                        <div class="mb-3">
                            <label for="name">Name</label>
                            <input type="text" class="form-control" name="name" id="name" placeholder="Enter Name">
                        </div>
                        <div class="form-check">
                            <input type="checkbox" name="status" class="form-check-input" id="status">
                            <label class="form-check-label" for="status">Status</label>
                        </div>
                    </div>
                    <div class="card-footer text-end">
                        <button class="btn btn-primary" type="submit">Save</button>
                    </div>
                </form>
            </div>
        </div>
    </div>
@endsectionReturn to the 'CategoryController' and update the 'store' function.
public function store(Request $request)
{
    $validator = \Validator::make(
        $request->all(), [
            'name' => [
                'required'
            ],
        ]
    );
    if($validator->fails())
    {
        $messages = $validator->getMessageBag();
        return redirect()->back()->with('error', $messages->first());
    }

    $tableName = 'categories';
    $autoID = autoID($tableName);
    $categories = firebaseDb()->collection($tableName);
    $categories->newDocument()->set([
        'sr_no' => $autoID,
        'name' => $request->name,
        'status' => $request->status == 'on' ? true : false,
    ]);

    return redirect()->back()->with('success', 'Category added successfully');
}We are utilizing a custom function called 'autoID' to generate serial numbers or auto IDs. Therefore, let's navigate to the custom helper in 'app/Services/firebase.php' that we created in a previous post and add a function to generate the auto ID.
if (!function_exists('autoID'))
{
    function autoID($collection)
    {
        $lastRec = firebaseDb()->collection($collection)->orderBy('sr_no', 'DESC')->limit(1)->documents()->rows();
        $id = isset($lastRec[0]['sr_no']) ? $lastRec[0]['sr_no'] + 1 : 1;
        return $id;
    }
}Step 4 : Update
Return to 'CategoryController' and proceed to work on the 'edit' and 'update' functions. We'll start by fetching specific data based on the 'id' and then proceed to update it.
public function edit(string $id)
{
    $tableName = 'categories';
    $category = firebaseDb()->collection($tableName)->document($id)->snapshot();
    return view('category.edit',compact('category'));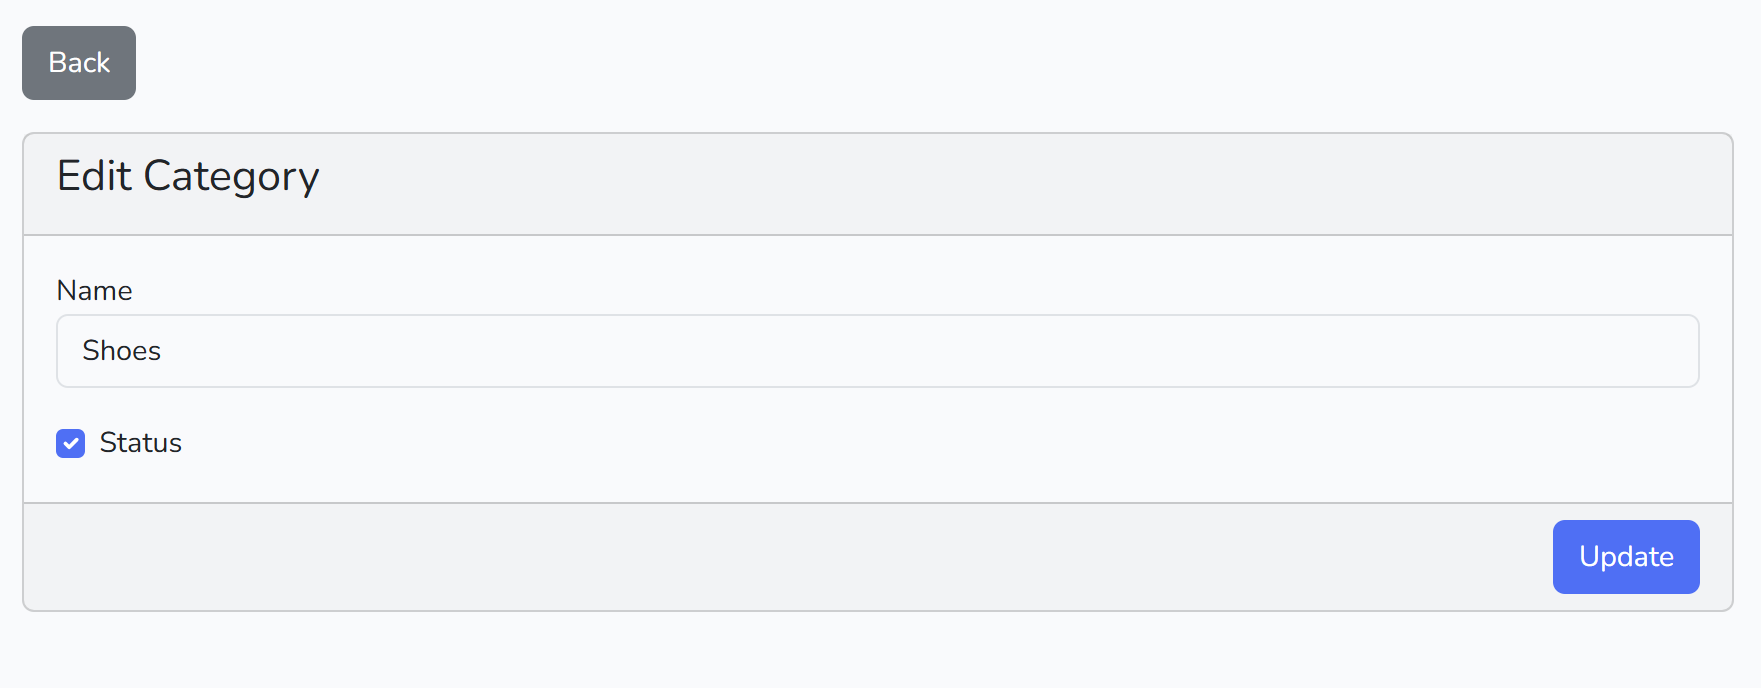
}Create a file and form in 'resources/views/category/edit.blade.php'
@extends('layouts.app')
@section('content')
    <div class="container">
        <div class="row justify-content-center">
            <div class="col-md-8">
                @if (\Session::has('success'))
                    <div class="alert alert-success" role="alert">
                        {!! \Session::get('success') !!}
                    </div>
                @endif
                @if (\Session::has('error'))
                    <div class="alert alert-danger" role="alert">
                        {!! \Session::get('error') !!}
                    </div>
                @endif
                <div class="pb-3">
                    <a href="{{ route('category.index') }}" class="btn btn-secondary">Back</a>
                </div>
                <form action="{{ route('category.update',$category->id()) }}" method="POST" class="card">
                    @csrf
                    @method('PUT')
                    <div class="card-header"><h4>{{ __('Edit Category') }}</h4></div>
                    <div class="card-body">
                        <div class="mb-3">
                            <label for="name">Name</label>
                            <input type="text" class="form-control" name="name" id="name" placeholder="Enter Name" value="{{ $category['name'] }}">
                        </div>
                        <div class="form-check">
                            <input type="checkbox" name="status" class="form-check-input" id="status" {{ $category['status'] ? 'checked' : '' }}>
                            <label class="form-check-label" for="status">Status</label>
                        </div>
                    </div>
                    <div class="card-footer text-end">
                        <button class="btn btn-primary" type="submit">Update</button>
                    </div>
                </form>
            </div>
        </div>
    </div>
@endsectionNow, let's update the record based on the ID. Return to the 'CategoryController' and its 'update' function.
public function update(Request $request, string $id)
{
    $tableName = 'categories';
    $category = firebaseDb()->collection($tableName)->document($id);

    $storeArray = [];
    array_push($storeArray,
        ['path'  => 'name', 'value' => $request->name],
        ['path'  => 'status', 'value' => $request->status == 'on' ? true : false],
    );

    $category->update($storeArray);

    return redirect()->back()->with('success', 'Category updated successfully');
}Step 5 : Delete
Now we're on the final step, which is deletion. Open the 'CategoryController' and scroll to the bottom to find the 'destroy' function.
public function destroy(string $id)
{
    $tableName = 'categories';
    $category = firebaseDb()->collection($tableName)->document($id);
    $category->delete();

    return redirect()->back()->with('success', 'Category deleted successfully');
}