In this post we will learn step-by-step on process of integrating Summernote into your web application and enabling image upload functionality. It includes initializing Summernote, creating an image upload function, handling the image file, and inserting the image URL into the editor. Whether youre a beginner or an experienced developer, this guide will help you enhance your web applications with rich text editing and image upload capabilities.
Step 1 : Initializing Summernote
We will use CDN to install summernote in our project, To read more or download summernote please visit summernote offical site.
<!-- css (bootstrap , summernote) -->
<link href="https://stackpath.bootstrapcdn.com/bootstrap/3.4.1/css/bootstrap.min.css" rel="stylesheet">
<link href="https://cdn.jsdelivr.net/npm/summernote@0.8.18/dist/summernote.min.css" rel="stylesheet"><!-- js (jquery, bootstrap, summernote) -->
<script src="https://code.jquery.com/jquery-3.5.1.min.js"></script>
<script src="https://stackpath.bootstrapcdn.com/bootstrap/3.4.1/js/bootstrap.min.js"></script>
<script src="https://cdn.jsdelivr.net/npm/summernote@0.8.18/dist/summernote.min.js"></script>Step 2 : Creating Database, Controller and Route.
Because we are using laravel we will use -mcr command, Which will create model, resource controller and resource route.
php artisan make:model Posts -mcrNow we will create a function to display summernote and upload content and image, So first lets create a resource route in web.php
Route::resource('posts', PostsController::class);We will directly use create function in PostsController.php
To access this function you can create a button and use : route('posts.create') or access directly via url : /posts/create
public function create()
{
    return view('posts.create');
}Now we will create a form which will have textarea with summernote
resources/views/posts/create.blade.php
<!DOCTYPE html>
<html lang="en">
<head>
<meta charset="utf-8">
<meta name="viewport" content="width=device-width, initial-scale=1">
<title>Summernote</title>
<!-- BOOTSTRAP -->
<link href="https://maxcdn.bootstrapcdn.com/bootstrap/3.3.6/css/bootstrap.min.css" rel="stylesheet" />
<!-- SUMMERNOTE -->
<link href="https://cdn.jsdelivr.net/npm/summernote@0.8.18/dist/summernote.min.css" rel="stylesheet">
<!-- Styles -->
<style>
body {
background: #f7f7f7;
}
.form-box {
max-width: 80%;
margin: auto;
padding: 50px;
background: #ffffff;
border: 10px solid #f2f2f2;
margin-top: 100px;
}
h1, p {
text-align: center;
}
input, textarea {
width: 100%;
}
form{
padding-top: 40px;
}
</style>
</head>
<body>
<div class="form-box">
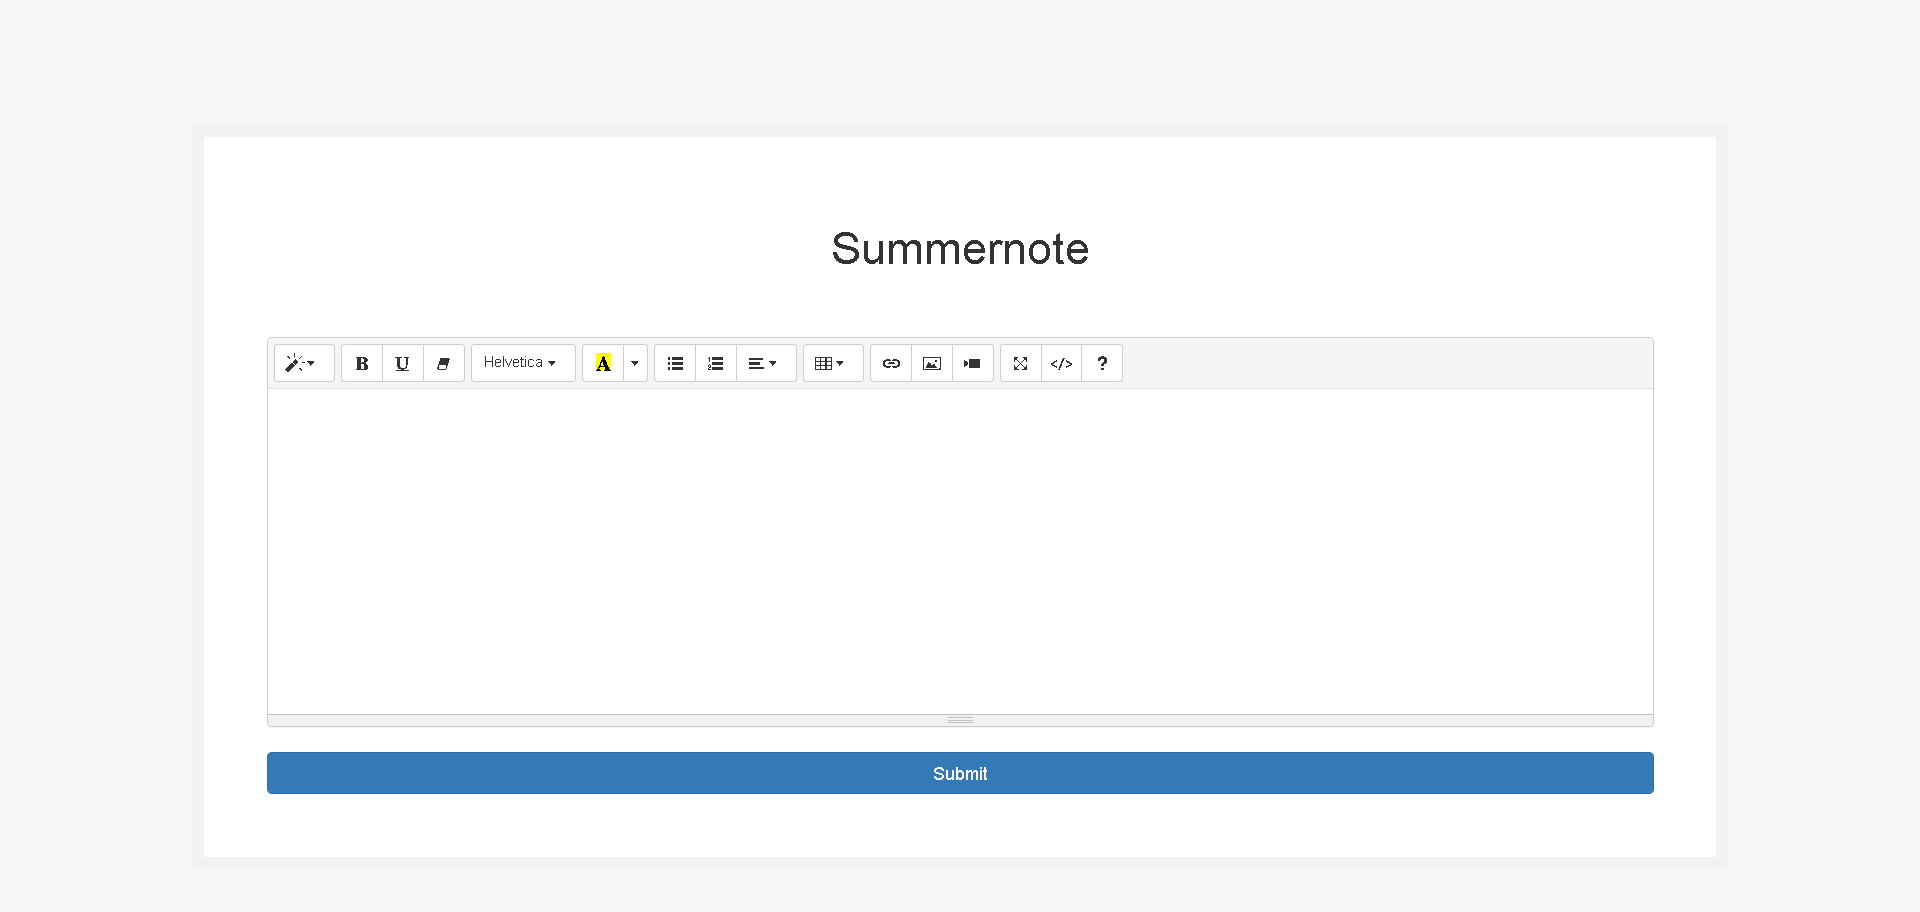
<h1>Summernote</h1>
<form action="{{ route('posts.store') }}" method="post" enctype="multipart/form-data">
@csrf
<div class="form-group">
<textarea class="form-control" name="summernote" id="full-summernote"></textarea>
</div>
<input class="btn btn-primary" type="submit" value="Submit" />
</form>
</div>
<!-- JQUERY, BOOTSTRAP -->
<script src="https://code.jquery.com/jquery-3.5.1.min.js"></script>
<script src="https://stackpath.bootstrapcdn.com/bootstrap/3.4.1/js/bootstrap.min.js"></script>
<!-- SUMMERNOTE -->
<script src="https://cdn.jsdelivr.net/npm/summernote@0.8.18/dist/summernote.min.js"></script>
<script>
$('#full-summernote').summernote();
</script>
</body>
</html>Now lets create a migration, You will get a migration file in : /database/migrations/_create_posts_table.php
In migration file we will add a field called content
public function up(): void
    {
        Schema::create('posts', function (Blueprint $table) {
            $table->id();
            $table->text('content')->nullable();
            $table->timestamps();
        });
}Now we will run migration command which will create a table in database
php artisan migrateStep 3 : Function to upload and store summernote content.
Before we upload we will create a disk to store summernote images, In /config/filesystems.php
'disks' => [

        'local' => [
            'driver' => 'local',
            'root' => storage_path('app'),
            'throw' => false,
        ],

        'summernote_image' => [
            'driver' => 'local',
            'root' => storage_path('uploads/summernote_image'),
            'throw' => false,
],Now because we created a resource controller we will have a function named store in PostsController.php, In this function we will upload image and store summernote content, So lets upload some content.
Note : The field name should not be named as 'content' in html form we named our field as 'summernote', Also do not use middleware or protection like XSS, It will not allow summer note data to pass through controller.
public function store(Request $request)
{
$summernoteContent = $request->summernote;
if(!empty($summernoteContent))
{
// Create a new DOMDocument object
$dom = new \DOMDocument();
// Load the HTML content from Summernote into the DOMDocument object
@$dom->loadHtml($summernoteContent, LIBXML_HTML_NOIMPLIED | LIBXML_HTML_NODEFDTD);
// Get all the 'img' elements from the loaded HTML
$imageFile = $dom->getElementsByTagName('img');
// Loop through each 'img' element
foreach ($imageFile as $item => $image)
{
// Get the 'src' attribute of the 'img' element
$data = $image->getAttribute('src');
// Check if the 'src' attribute is not a valid URL
if (!filter_var($data, FILTER_VALIDATE_URL))
{
// If the 'src' attribute is not a valid URL, it's assumed to be a base64 encoded image
// The base64 image is split into data and mime type
list(, $data) = explode(';', $data);
list(, $data) = explode(',', $data);
// Decode the base64 image
$imgeData = base64_decode($data);
// Get the extension of the image
$extension = explode('/', mime_content_type($image->getAttribute('src')))[1];
// Generate a unique name for the image file
$image_name = time() . $item . '.' . $extension;
// Save the decoded image data to disk
Storage::disk('summernote_image')->put($image_name, $imgeData);
// Generate the URL of the saved image file
$imgPath = asset(Storage::url('uploads/summernote_image/' . $image_name));
// Remove the 'src' attribute of the 'img' element
$image->removeAttribute('src');
// Set the 'src' attribute of the 'img' element to the URL of the saved image file
$image->setAttribute('src', $imgPath);
}
}
// Save the updated HTML content back to the $summernoteContent variable
$summernoteContent = $dom->saveHTML();
}
// Save it to database
$posts = new Posts();
$posts->content = $summernoteContent;
$posts->save();
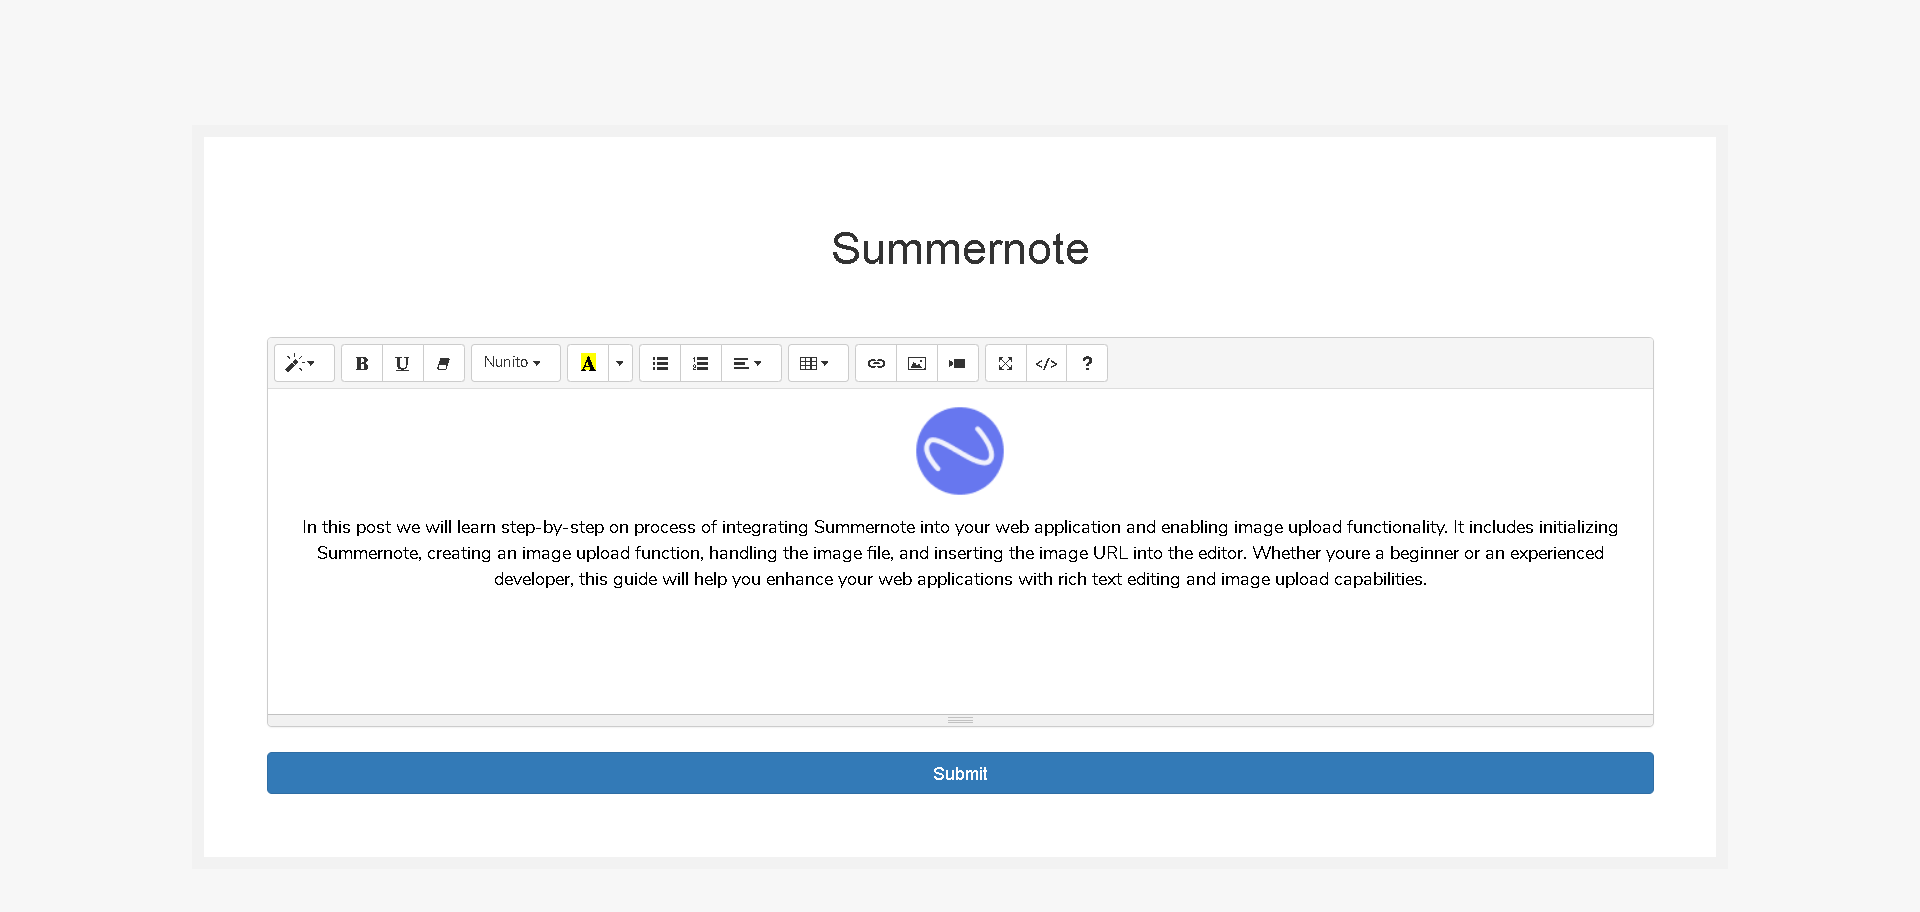
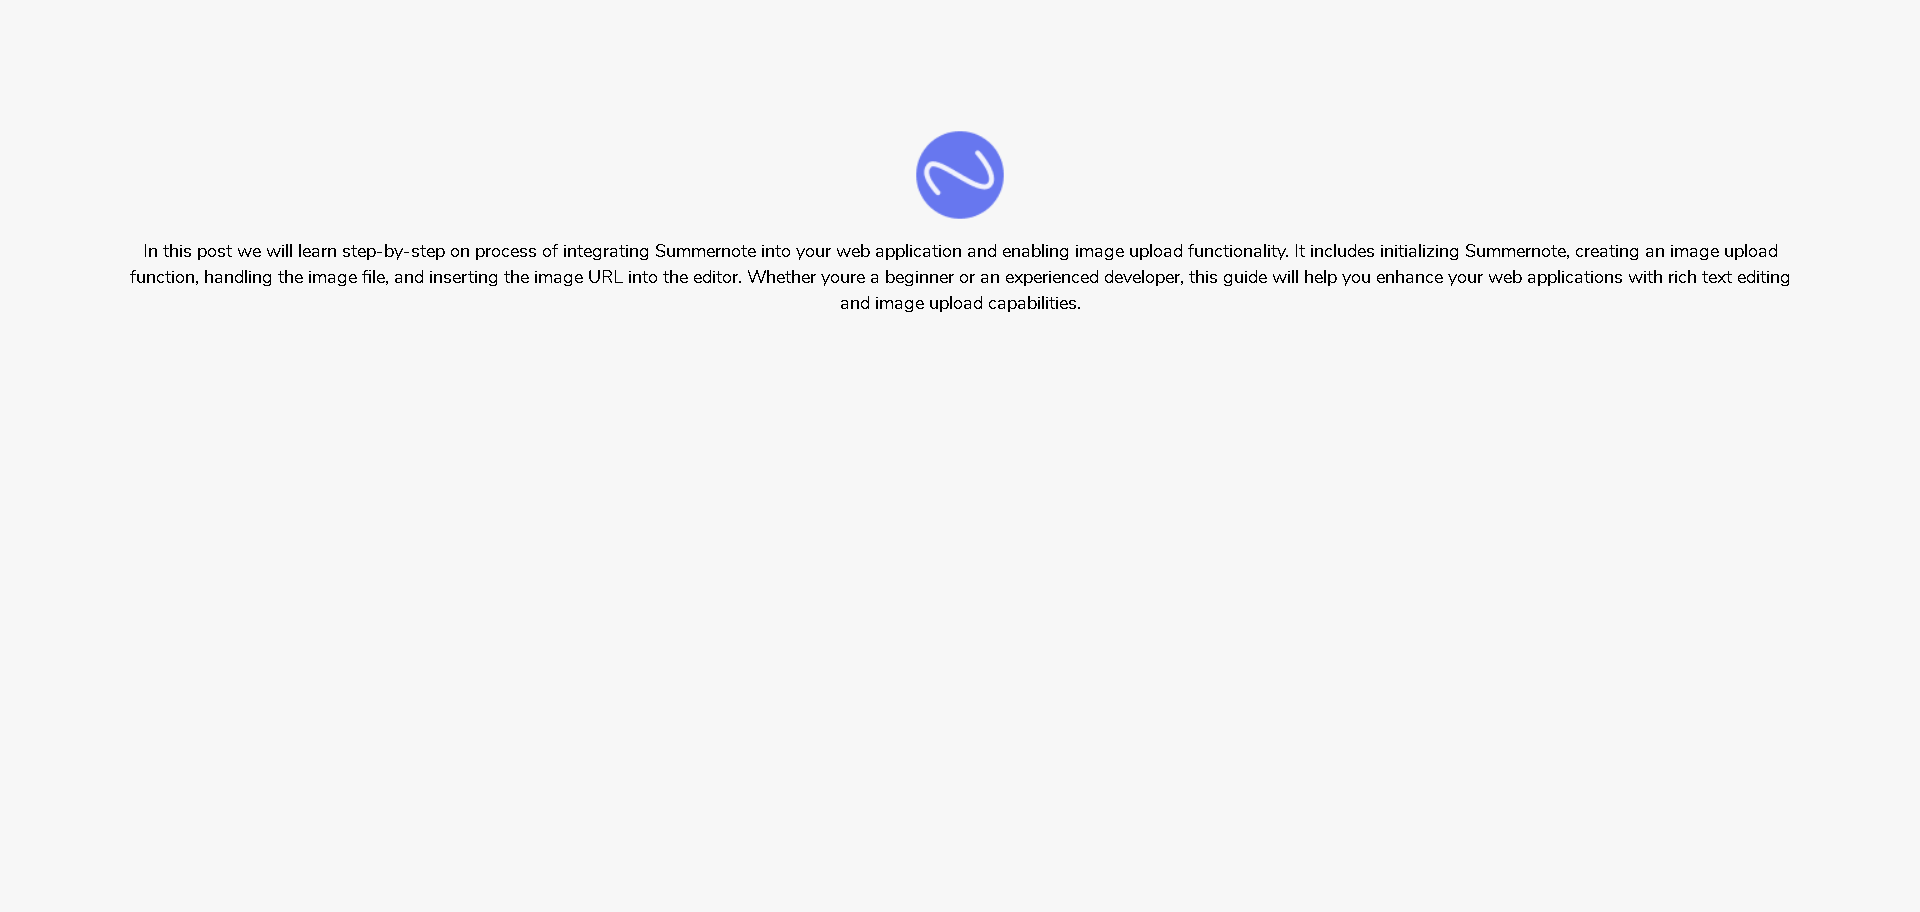
}Step 5 : Display summernote content
Now image and content is upload we can display our uploaded content, We will use show function in PostsController.php
To access this function you can create a button and use :
route('posts.show',$post->id) or access directly via url : /posts/{post_id}
public function show(Posts $posts)
{
    return view('posts.show',compact('posts'));
}Now we will create a form which will have textarea with summernote
resources/views/posts/show.blade.php
{!! $posts->description !!}<!DOCTYPE html>
<html lang="en">
<head>
<meta charset="utf-8">
<meta name="viewport" content="width=device-width, initial-scale=1">
<title>Summernote</title>
<!-- BOOTSTRAP -->
<link href="https://maxcdn.bootstrapcdn.com/bootstrap/3.3.6/css/bootstrap.min.css" rel="stylesheet" />
<!-- Styles -->
<style>
body {
background: #f7f7f7;
padding: 100px;
}
.form-box {
max-width: 80%;
margin: auto;
padding: 50px;
background: #ffffff;
border: 10px solid #f2f2f2;
margin-top: 100px;
}
h1, p {
text-align: center;
}
input, textarea {
width: 100%;
}
form{
padding-top: 40px;
}
</style>
</head>
<body>
{!! $posts->description !!}
</body>
</html>